Disclaimer: This post may contain affiliate links, meaning we get a small commission if you make a purchase through our links, at no cost to you. For more information, please visit our Disclaimer Page.
A clogged garbage disposal is on top of the list of reasons why people call a handyman since many of us simply can’t bother with unclogging it ourselves.
The thought of having to disassemble the pipes in order to clean the garbage disposal of the garbage can be really stressful! Moreover, using chemicals to unclog it simply isn’t an option.
Garbage disposal is different from the sink, and these chemicals can eat away some of the plastic components of your garbage disposal.
Therefore, the best and the cheapest way to unclog your garbage disposal is the most obvious and the simplest one. You’ll need only a plunger, and maybe a couple of long-handled tongs or pliers.
The process itself is very easy, and you can follow it step-by-step with our instructions:
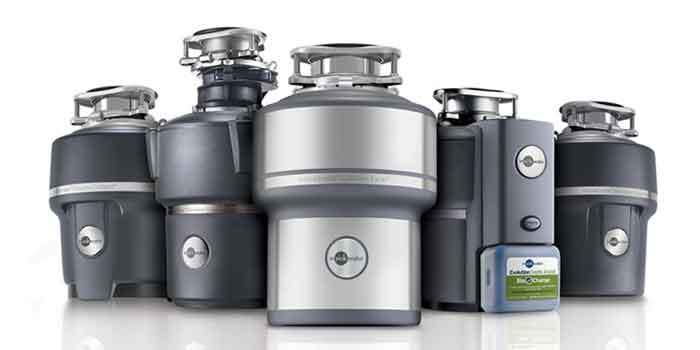
How to unclog a garbage disposal with a plunger
Step No. 1 - Turn off your garbage disposal
Before doing anything with your garbage disposal, make sure it’s turned off in order to prevent any injuries and accidents. Make sure not to stick anything in the drain unless the power is turned off, not even to check what’s causing the clog.
First of all, look under the sink and unplug the garbage disposal. If you have an older model then you might have to cut the power directly from the fuse box.
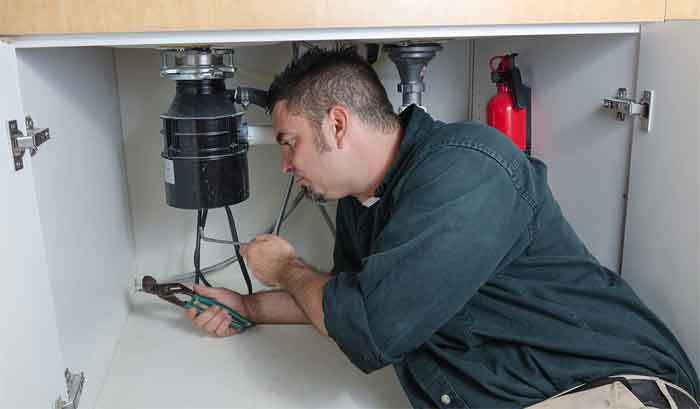
Step No. 2 – Grab some long-handled tongs or pliers
In order to get to the root of the problem which causes the disposal to clog, you might have to use some pliers or long-handled tongs to get rid of the garbage that is closer to the top.
This will also allow you a better look down the disposal so you can determine what’s causing the clog. Use a battery lamp to get a better view of the drain. Just make sure not to put your hands down the drain since the knives are very sharp and can cause severe injuries.
If you have only a plunger, then you can skip this step, but it will take you a bit more time to unclog the disposal.
Step No. 3 – Use a plunger
After you’ve determined what’s causing the clog, it’s time to use a plunger to get rid of all the debris that’s been left out from your cleaning with the tongs or pliers. In order to get the best results, make sure that the plunger can stick completely to the surface so it can create better suction.
Place the plunger directly over the drain, making sure that it covers it completely. Run the faucet until the plunger is covered with about 4-5 cm of water. Plunge it up and down vigorously for at least 30 seconds, which is enough to create the movement necessary to move around garbage that’s been clogging the disposal.
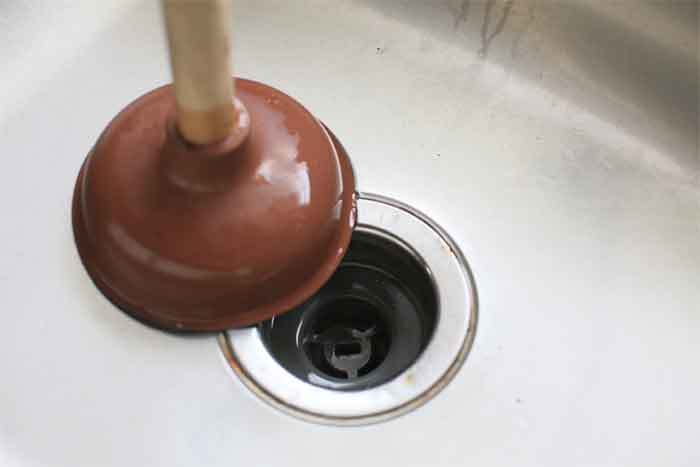
Run the faucet again and lift the plunger to determine whether the disposal is clean or not. If not, repeat this process a couple of times, each time plunging vigorously and checking whether the water is flowing.
You may find that some of the residues came close to the drain when you were plunging it. If this happens, make sure to use again pliers or tongs to get rid of it so you can get closer to the stuff that’s been clogging the disposal.
If it appears that water is running without any obstacles, leave it on for about a minute. Hot water is preferable since it can clean the grease more easily.
Step No. 4 – Additional cleaning
Now that you’ve unclogged your garbage disposal you may notice some bad smells coming from it due to the garbage that’s been molding inside of it. Cleaning the garbage disposal will not only get rid of this bad smell but will also prevent future clogging since you will clean it from oils that can cause the clogs.
Since you can’t just use any chemical with garbage disposals, you can use baking soda, which is known for its cleaning properties. This is also an easy and cheap process which you can do by yourself without breaking the bank. Also, even if your garbage disposal isn’t clogged, you should do this from time to time to deeply clean the disposal from any oil build-ups.
To clean the disposal, pour the hot water down the drain, then add a half a cup of baking soda. Turn off the water and let the baking soda sit there for a couple of minutes. Then, you can rinse it off with hot water, or you can add vinegar to clean it better.
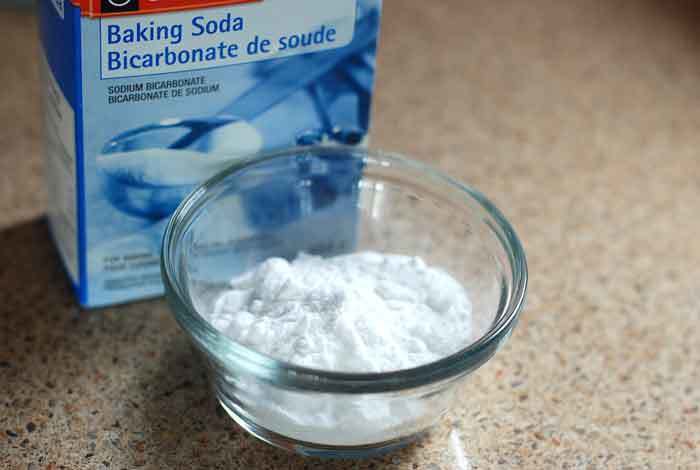
The baking soda and vinegar solution is great for cleaning when you can’t use chemicals. If you choose to add the vinegar, you’ll see that the foam is creating. This is a completely normal reaction. Let this solution soak for a couple of minutes and then rinse it off with hot water. You’ll find that your garbage disposal is much cleaner and odorless.
Tips on Unclogging Garbage Disposal with a Plunger
1. Choose the right plunger
If you didn’t know, there are three types of plungers: cup plunger, flange (toilet) plunger and accordion plunger.
The most known and most used plunger is the cup plunger, which you may also use in the bathroom. This type of plunger is the best one for unclogging the garbage disposal since it can lay flat on the drain and create a vacuum necessary to unclog the drain.
It can get a bit messy since it disperses the water around, but just make sure that you have enough towels to clean when you’re trying to unclog the disposal.
Also, do not use the plunger you have been using to unclog the toilet since it can disperse fecal bacteria around your kitchen.
2. Plunge straight
Plunging at an angle won’t do much except waste your time and energy. Make sure that the handle sits and 90o and then plunge. This way, you’ll get the most out of your pumps.
3. Create suction
Slowly press down your plunger in order to get air out of the plunger cup. This will reduce the air contained in the cup and will create a better seal.
4. Submerge plunger
Although we have already mentioned this, we would like to repeat it since we have seen many people trying to unsuccessfully unclog the drain or the sink with the plunger.
It simply won’t have the same effect if there isn’t enough water in the area. Submerge the plunger with a couple of centimetres of water, which will be more than enough, and you’ll see that your plunger works better.
5. Maintain plungers
After you’ve finished unclogging your garbage disposal with a plunger, make sure to wash the plunger and let it dry completely before putting it away. This will prevent any cracks or tears of the cup of the plunger. These can be the cause of the poor vacuum seal and the loss of pressure.
Also, plungers can easily mold if you don’t maintain them properly so make sure to clean them in order to avoid getting infections.
6. Garbage disposal maintaining
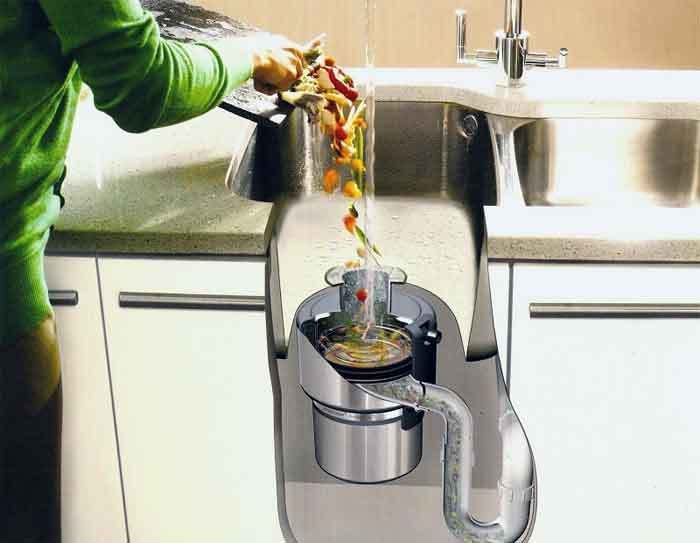
We can’t stress enough how important it is to maintain your garbage disposal in order to avoid getting it clogged. We have already suggested that you use the baking soda and vinegar solution, but there are other ways you can maintain your disposal.
You can also use baking soda and salt. Mix the two and put it in the drain and let it rest for a couple of hours, even overnight. After that, put two cups of hot water down the drain to wash away the baking soda and the salt.
Also, when the disposal is running, put in it some chopped lemons to get rid of the bad smells. Just make sure that the lemon pieces are not too big! Even if you know now how to unclog your garbage disposal, you surely don’t want to clog it on purpose!
In conclusion: Unclog Garbage Disposal with Plunger
Using the right tool and mastering the plunging technique can save you from wasting your money on a handyman. Instead, you can buy the right plunger and try it out yourself.
We are positive that once you master this skill, it will come easier to you and you’ll be able to unclog your sink, your bathtub and even your toilet.
Following our advice and tips will assist you greatly in this, so make sure you come back to this text wherever you feel like you’re doing something wrong.
