Disclaimer: This post may contain affiliate links, meaning we get a small commission if you make a purchase through our links, at no cost to you. For more information, please visit our Disclaimer Page.
Ever come across a jammed kitchen sink drain whereas having an awaiting pile of tableware smeared with food remains?
The mere sight of wastewater backing up, let alone the repugnant smell it emits, can really freak one out!
Calm down! I know that you’re having your wires crossed about how to deal with this predicament while leaning against the brim of the sink but check out a couple of easy-to-make mixtures and easy-to-use tools that may literally wash away your problem!
But first – remove the standing water!
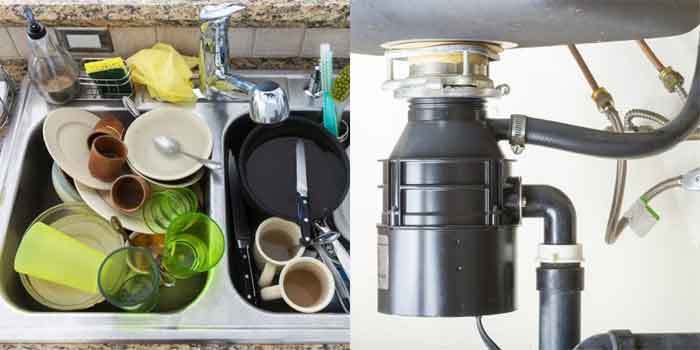
How to Unclog Kitchen Sink with Disposal
1. Boiling Water
What can be simpler and cheaper than pouring a full pot or kettle of water previously heated up to a rolling boil on the stove down the drain?
So why not try it out before anything else! You may need to repeat the process several times, but don’t get disheartened!
Another method that also works is pouring ½ cup of salt before the boiling water. After leaving it to stand for a few minutes, flush the drain with hot water again!
2. Solutions with Baking Soda
You must have a pack of sodium bicarbonate in your house! If not, think of purchasing it – the investment will surely pay off considering its versatility!
The first dream combination is baking soda and vinegar – pour one cup of the former followed by the same amount of the latter.
Both white and apple cider vinegar will do. Seal the drain with a stopper and leave it to react for 15 minutes, then rinse the sink with hot water! If necessary, repeat the procedure!

The second mixture that can make wonders against clogged drains is baking soda and salt. Mix one cup of baking soda with ½ cup of salt and let it roll down your drain! Leave it to sit for a couple of hours and then flush with water brought to a boil! Repeat as many times as needed!
3. Cleaning the Garbage Disposal
Having your garbage disposal give off a low buzzing sound when turned on might signal that it’s stuck and thus the main reason behind the whole trouble!
If so, first of all, unplug the disposal or go to the main power panel to turn off the electrical circuit breaker for it, for safety reasons!
Use a flashlight to scour for any leftovers that might be causing the blockage. If you find a utensil or scraps of food sticking out behind the blades, remove them using tongs or pliers. Run the garbage disposal to check whether water flows down the drain.
If that didn’t help, you may need to stick an Allen wrench into the hole underneath the disposal and turn a few times. By manually rotating the blades, you might manage to break down the accumulated debris and unblock the disposal.
Afterward, reset the latter by pressing the red button situated close-by.
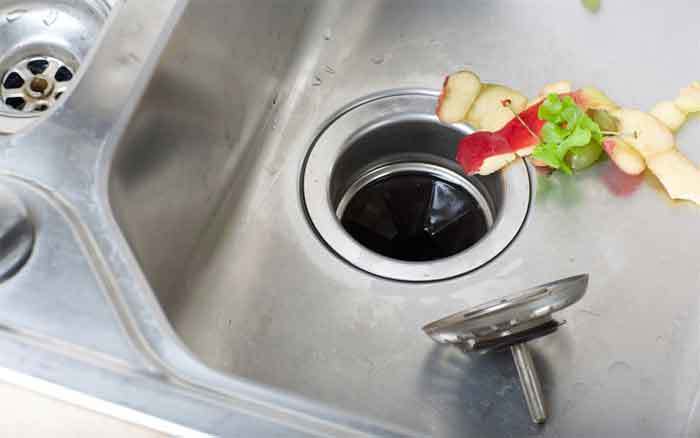
Eventually, try running the disposal again. Note that you should keep tap water flowing when testing it so that it aids the disintegration of the clog! If the water still isn’t draining, resort to plunging!
4. Plunging
This can be performed with both a toilet plunger or the one specifically designed for sinks for even better results.
First and foremost, be reminded to switch the disposal off.
Another caveat – neither plunge nor snake the sink in which you have poured chemicals because you might get spattered with them!
For starters, in case you have a dishwasher, close its drain line where it enters the disposal with a bar clamp to prevent the hose from getting detached from the nozzle or the filthy water from flowing into the dishwasher.
Additionally, if you have a double sink, plug the drain that won’t be plunged with a rag or a stopper.
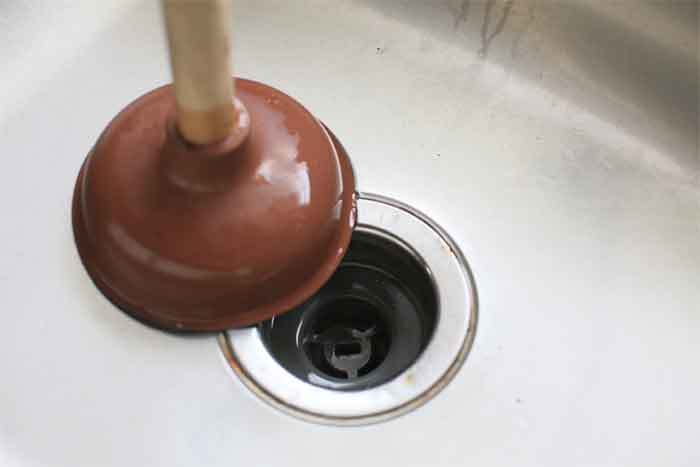
Next, put the plunger over the drain opening and fill the sink with water so that it covers the plunger’s bell to create suction.
After multiple dynamic pushes over about a minute, unclamp the dishwasher drain, unplug the drain that wasn’t plunged and run the disposal to check whether plunging has had any effect. Repeat the action until the food chunk is gone.
If that fails, it’s worth giving plunging the second of the two drains a go!
Finally, when you make it, rinse the unclogged drain with hot water and check if the disposal works properly after freeing the dishwasher hose!
5. Cleaning the P-trap or the S-trap
If nothing of the aforementioned was fruitful, you’ll need to take the pipe under your sink apart. That’s the one in the shape of the letter P or S between the trap arm going into the wall and the waste tee snaking into the disposal.
Since now you’ll be operating on the internal organs of your sink, prepare to get messy!
Remove the standing water from the basin first to minimize the amount of water that’ll come out when you disassemble the pipe. Place a bucket and towels under it to avoid dirtying the whole kitchen!
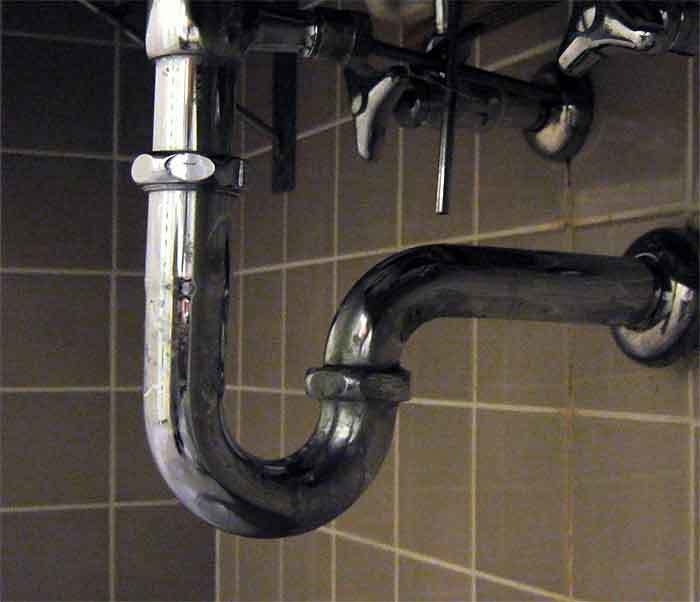
In order to pull out the trap, you’ll have to unscrew the two nuts connecting it to the trap arm and the waste tee. If the pipes are made of metal, this job will probably require the help of slip-joint pliers. Cleanse the grime and any bits of food that you might find and then rinse the trap.
Lastly, carefully attach the trap back again, fastening it gently so as not to break or bend the pipes and then flush some water to check the drainage. In case water still isn’t flowing away, you’re not done with the pipes – inspect the stub-out!
Lightly loosen the nut connecting the trap arm to the stub-out located in the wall and pull out the former. Use a screwdriver or a straightened wire coat hanger to dig out the clump. If there’s nothing inside, snaking is the final option!
6. Snaking
The good news is that you’re halfway there if you have dismantled the pipes! For this method, you’ll need to purchase or rent a so-called drain auger which looks like a scary piece of equipment, but it’s quite easy to handle! Just follow these instructions!
After unfastening the setscrew holding back the cable, pull out 6 to 10 inches of the latter and tighten the former again.
Start inserting the snake into the stub-out until you reach an obstruction, most likely an elbow of the pipe, consequently repeating the process you’ve started with to continue feeding the cable beyond the curve.
Rotate the handle clockwise to help it go around the corner. During snaking, keep the distance between the drain opening and the setscrew at around 3 inches for better control and easier identification of the clog.
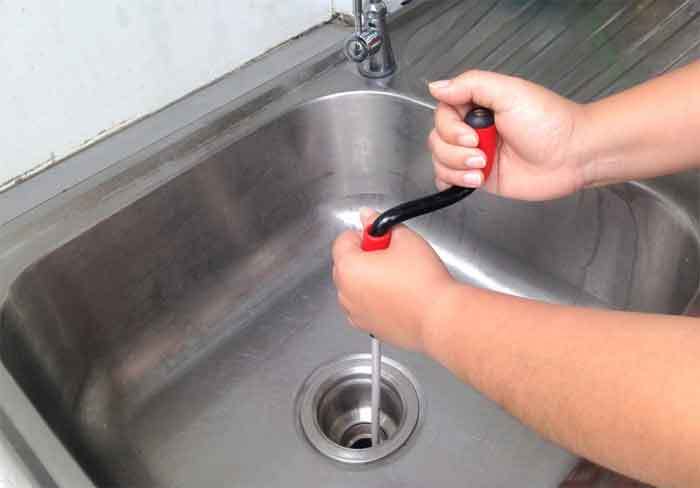
When you finally encounter the stoppage, don’t flinch! Keep rotating the crank and pushing to pierce the mass and impale it on the tip of the snake.
When you feel that you’ve penetrated it, start cranking counterclockwise and pulling the cable out of the pipe while cleaning it from all the sludge it’ll possibly be covered with!
After getting it out, remove that troublemaker of a clog and the gunk from the end of the snake and repeat the described course of action to do away with any remnants of waste!
Having put all the pipes back the way they were before and ascertaining that water is draining, pour any of the concoctions whose preparation has already been elaborated here to rinse the drain, washing off the remainder of the grime glued to the pipe walls.
An Ounce Of Prevention Is Worth A Pound Of Cure!
Disposals’ blades aren’t made for crushing large or solid objects such as bones, metals or plastics, therefore never throw them away into your sink!
Be advised that starchy and greasy ingredients, as well as the ones rich in fibers, are prone to building up, coating the walls of pipes.
Always keep tap water running, not only while grinding but also for half a minute after finishing to flush away any fragments of food that might still be holding on to the blades or the pipes!
A lemon a day keeps the plumber away! Cut a lemon in half and grind it to refresh the drain combating unpleasant odors and hindering the formation of future clogs!
Keep in mind that all the preparations expanded on in the preceding chapter can also be used for prevention and regular maintenance!
Final Word: Clogged Kitchen Sink with Disposal
As you can see, there are numerous practical, safe, do-it-yourself methods that can get you out of this sticky wicket!
That being said, don’t go pouring chemicals into the sink because that can destroy the metal and plastic components of the disposal and hence do more harm than good!
Be sure to learn which are the best drain cleaners for kitchen sinks before pouring down the drain!
It’s also not highly recommended to call in a plumber because that will damage your household coffers!
Ergo, every reason you might offer for not experimenting with these unclogging techniques is a sheer excuse! Don’t let the grass grow under your feet – put on some rubber gloves and dive in!
