Disclaimer: This post may contain affiliate links, meaning we get a small commission if you make a purchase through our links, at no cost to you. For more information, please visit our Disclaimer Page.
When a shower trim is old, rusty or you would simply like to change it for a better-looking one, it brings up one important question: Is it possible to do so without having to make a hole in your wall?
On the other hand, some will think about the cost of changing the whole valve, so it is the best solution to simply just change the shower handle.
However, that’s not easy as well since there are different types of valves you might face. In that case, you will need to determine which type of valve you have installed in your bathroom.

Three types of valve
When it comes to shower valves, there are three types of them.
1) The Standard Type - Standard valve is operated with pull on and push off operations. Inherently important for this type is that the trim is turned left and right for hot and cold water respectively. The screw holes for this type are at 5:00 and 7:00 positions clockwise.
2) Posi-Temp - Also known as the "cycling“ valve and its handle is moving and rotating from 3:00 to 12:00 positions, for cold and hot water.
3) Moentrol - This type of valve is operated in the same way as the standard one. It has temperature memory so when you push the handle in to turn off the water, the handle stays in the same position as during use. Screw holes are located at 2:00 and 7:00 positions.
This is important because these three types are not interchangeable.
Each type requires a toolkit and its own shower trim kit.
Needed Tools for the Job
When you have figured out which type of valve you have and picked the right trim kit, it is time to mention which tools you will need for this process.
- Cleaning rags
- Plier sets
- Screwdriver sets
- Power drill
- An adjustable wrench
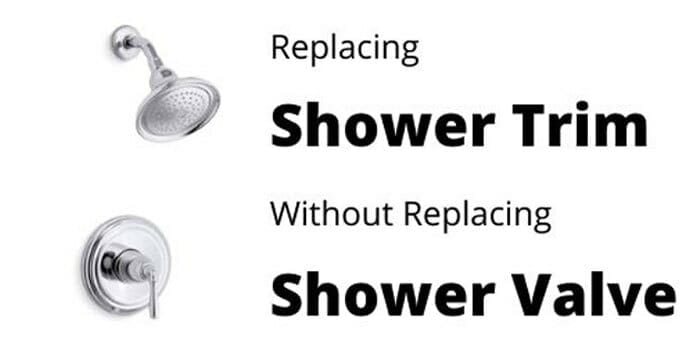
Replacing Shower Trim without Replacing Valve
When we have successfully determined the exact type of valve and purchased that type characteristic trim, changing the trim is the next thing to do.
Step 1 – Locate Screw Holes
Find the diagonal screw holes on the plate of your valve. In order to save yourself from the trouble of hiring a plumber, pick a trim set with the valve adapter.
Basically, you need to attach this adapter to the valve and it sets the screw holes positions.
Step 2 – Remove the old Handle
Remove your old handle. Use the screwdriver to make it loose and then slide the tube off.
Step 3 – Turn off Water Supply
It is recommended to shut down the water in your household after removing the tube.
Use a power drill to reach the cartridge of the valve and remove the old silicone.
Step 4 – Install a Diverter
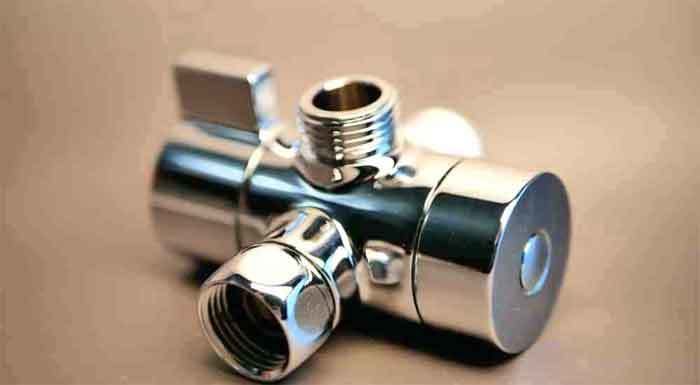
If appropriate for your valve, install the diverter which is the mechanism used for directing your water from plumbing pipes to the showerhead.
Fasten your diverter ring in place using some adhesive caulk to secure it.

Step 5 – Put new Handle and Showerhead
Now that you have removed all the old parts of the trim kit, it is time to place a new handle and showerhead. Without touching the stem screw up the rest of the holes and place the new handle plate.
There will be a smooth side and the rough sides so make sure you put the smooth one opposing your wall. As for the showerhead, screw the replacement onto the shower arm in a clockwise direction and tighten it up.
Be sure to check if some leaks occur and if they do apply Teflon tape on the showerhead.
Step 6 – Use an Adjustable Wrench
At this point, use an adjustable wrench to tighten up the screws so your plate of the handle will slide a little bit. From here on, you need to reattach the handle to this piece.
Install the handle higher up so that your plate does not slide down and up.
Step 7 – Turn the Handle
Tighten the rest of the screws up until it’s bonded to the plate. You will see that there is a notch for your handle to start the cold water on one side, and start the hot water on the other side.
In order to do this correctly so that your water sides do not get messed up, rotate your handle so the notch is facing down.
Basically, it will turn 360 degrees.
Step 8 – Reinforce the Connection
Now that we have a plate and a handle mounted, make sure the handle is connected to the limiter. Slide your handle on, put up the rest of the screws manually.
Step 9 – Finishing Touch
Lastly, install the stem covers using a screwdriver and the supplied O-ring to fasten them. This will provide proper installation and everything will be in its place.
Possible Problems and Malfunctions
After the replacement and installation of a new set for your shower pipe system, a few issues might occur based on the type of your faucet handle.
For single-handled faucets, the common problem can be the malfunction of valve cartridges. They are important because they are used to control the flow of water. It is best fixed by replacing this device.
Be sure to pick the right cartridge to replace your old one, since they are specific to a model of valve.
For two-handle faucets, a different malfunction can occur.
Stems are mechanisms in the faucets that are used for closing and opening of a water line.
This issue can be fixed by installing a new stem system or by trying to fix and replace seals and O-rings.
Find the exact match for your removed stem and make sure that when you mount it, it is coated in petroleum jelly. In the end, it is recommended to change the O-ring with the new one. Preferably, also coat it with petroleum jelly.
You might also like: How to Install a Shower Valve with Sharkbite
Conclusion: Replacing Shower Trim
Doing handyman work in your own bathroom is really not that hard if you follow these instructions. The malfunctions and problems mentioned do not necessarily have to happen in every case, it is only good to know how to counter-measure them.
This way you will have no more problems replacing the issued parts than when replacing the shower trim in the first place.
Hopefully, this article can help you be your own plumber for a while, and if you don't do so well, you can always pay some extra money and hire a real handyman to do it for you.
