Disclaimer: This post may contain affiliate links, meaning we get a small commission if you make a purchase through our links, at no cost to you. For more information, please visit our Disclaimer Page.
The white, chalky buildup you’re experiencing on copper pipe results from mineral deposits, most especially calcium, from tap water. The issue is common in homes with hard water – a type of water that has high mineral contents, such as calcium and magnesium carbonates, bicarbonates, and sulfates.

Table of Contents
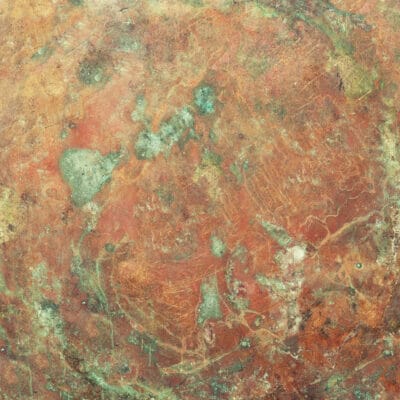
What do corroded copper pipes look like?
Copper corrosion is a common issue that most homes experience. In case you don’t know, several different factors can make your copper pipe corrode.
Corrosion occurs mostly when chemical and physical reactions occur between your copper pipe and the water running through it.

Causes of corrosion on copper pipes
That said, one of the many common factors that cause corrosion on copper pipes is low pH.
Here’s the thing; acid well and spring water, especially those with a pH level that’s less than 7.0, can always corrode your copper pipe.
In this case, the copper ion in the pipe will oxidize, resulting in blue or green water and stains.
Furthermore, another common cause of corrosion on copper pipes is high pH.
Yes, when the pH level of the water in your home is too high, usually above 8.5, this can also make your copper pipes corrode.
Electrochemical issues, such as poor main grounds on your home piping system, can also result in copper pipe corrosion.
Other common causes of copper pipe corrosion around your home include bacteria (iron bacteria), high velocity of water, poor pipe installation, high level of dissolved O2, and sand.
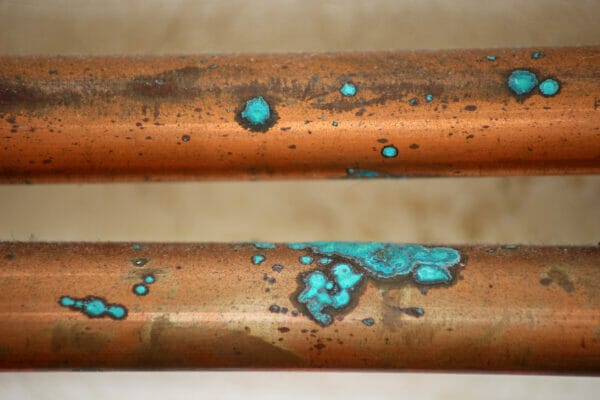
Here’s what corroded copper pipes look like
There are several different warning signs that you’ll get to understand that you’re experiencing corrosion on your copper pipe. One of them is when you start noticing blue stains, green stains, or blue water in your showers and sinks.
Discolored water is, by far, the most common symptom of copper pipe corrosion. It can either show up directly from the tap or leave stains (green or blue) on your sink, toilet tanks, and pipes.
Another warning sign that you’ll likely get to understand that you’re suffering from a corroded copper pipe is the strange taste of water. If your water gives you a strange metallic taste, this is most likely a symptom of copper pipe corrosion.
Bottom line: the result of corroded copper pipes is that you’ll most likely see green and blue water and stains from your sinks and pipes.
What is the white stuff on copper pipes?
The white, chalky build-up around your copper pipes is known as efflorescence. In case you don’t know, efflorescence is a white crystalline deposit of salt that often appears on surfaces that need attention. So, since you’re already experiencing the white stuff on your copper pipes, it means you need to take action and perform special care on them.
As earlier mentioned, you’re most likely to experience white stuff on your copper pipes if you reside in an area with hard water. Hard water contains a high amount of dissolved minerals, such as calcium and magnesium.
In areas with hard water, the dissolved minerals, which include calcium and magnesium, tend to precipitate out of your tap water onto the surface of the copper pipes, leaving behind the white build-up – as soon as the water evaporates.
Apart from calcium and magnesium, other minerals that can leave deposits on your copper pipes are manganese, iron, copper, and brass.
A high iron content will leave a white slime on your pipe. As for copper and brass, both minerals will deposit a bluish-green substance on your pipes; while manganese will leave a brownish-black stain.
How do you get the white stuff off your copper pipes?
Getting rid of the white stuff off your copper pipes can be done in several ways. You can check below to see some of them.
Eliminate the white stuff at its early stage
There’s a popular saying that prevention is way better than cure. This also applies to the white chalky substance on your copper pipe. Since you already know how it looks, instead of waiting for the calcium deposits to pile up, why not address the issue at its early stage?

Use vinegar
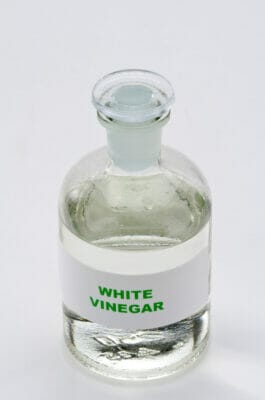
Another effective way to clean the white stuff on your pipes is by applying vinegar. I’m recommending vinegar because it’s effective for removing tough stains.
Apart from that, vinegar is also known to be potent for breaking chemical deposits.
Besides vinegar, you also need a paper towel. Get enough sheets of paper towels, soak them in the vinegar, and then wrap the affected areas on the copper pipes.
Leave the vinegar for at least an hour to break down and remove the mineral deposits. After that, remove the paper towel and rinse the pipe to remove the vinegar.
Use white vinegar with cream of tartar
You can also use a mix of cream of tartar and vinegar to eliminate any traces of white stuff on your copper pipes.
To get the job done, you need to get a small bowl. After that, mix the cream of tartar and the white vinegar thoroughly to create a paste-like substance.
Next, get a dry paper towel, dip it into the bowl containing the mixture and then scrub the affected areas on the copper pipes using pressure.
How do you remove green corrosion from your copper pipes?
As earlier mentioned, the green stuff on your copper pipes is a sign of rusting and corrosion. If care is not taken, it could cause water leakage and damage to your home.
That said, here’s a quick question; what is the best way to take care of the green substance on your copper pipes?
You can follow the simple and direct steps below to remove green corrosion from your pipes:
Materials needed
The first thing you need is to get the appropriate materials ready for the job. They include a measuring tape, wrench, copper pipe, and joint, gloves, file, emery cloth, and safety glasses.
Run a check
After getting the necessary materials, the next thing you need is to run a check on the affected area. Now, ask yourself; do the pipes need to be replaced?
If the affected area is not wide, it means you can certainly get the job done without any professionals.
Cut the pipe and solder
Once you’re sure you can handle the job, all you need is to start cutting the pipe. However, before proceeding with that, ensure to turn the water off.
Next, get your measuring tape and get the exact figure of the pipe needed. After that, get a saw and start cutting.
Cut off the affected pipe and the new pipe, accordingly. Lastly, get your copper pipe joint and solder the appropriate pipes.
Now, you have successfully eliminated the green corrosion on your copper pipe. All you need to do next is to test your work so you can be sure it was perfectly done.
