Disclaimer: This post may contain affiliate links, meaning we get a small commission if you make a purchase through our links, at no cost to you. For more information, please visit our Disclaimer Page.
As we all know, shower pipes and shower valves are equally important as the shower head or any other component that make up a whole construction of a normal shower cabin.
So, if one of these components is not properly installed or it simply is malfunctioning, the results will be bad.
This means that if you want to have a normal running shower, you have to make sure that everything is installed properly. So, as you would suspect, installing a shower pipe in the wall is actually one of the hardest things to do when it comes to the installations inside a bathroom.
But, with our help, that can guide you through the whole process, you will be able to learn how to install a shower pipe in a wall.
In that light, let’s not waste any more time and get down to business and see what you need for this kind of job. Later, we will see how to do it as well.
What You'll Need
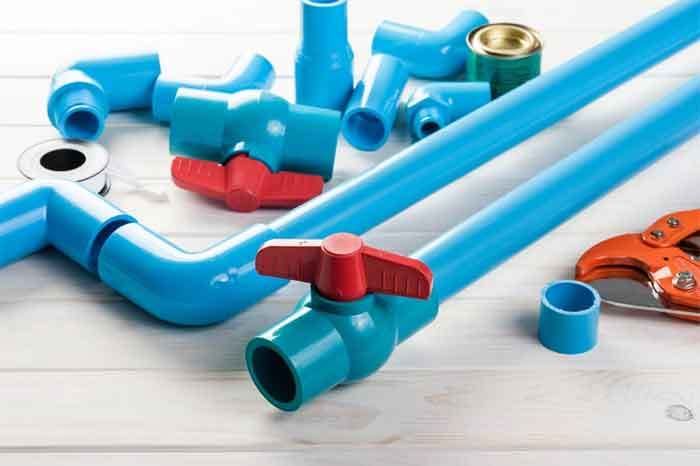
Among a big number of things that you need for this kind of job, we’ve narrowed the list to only the most essential items. So, let’ see.
- Pipe cutter – Since you will need to cut a lot of pipes during the process, a pipe cutter is essential for the job.
- Propane torch – In some cases, a little help from a propane torch will be required.
- A drill – This job requires a lot of drilling since the pipes are usually behind a wall.
- Plumbing tape – Once you start installing pipes behind a wall, a sticky plumbing tape is needed.
- An adjustable wrench – In order to tighten everything up, you will need an adjustable wrench.
- Copper tees – These are quite convenient to have in order to complete the installation of the pipes properly.
- Fittings – Different kind of fittings is also required for this job.
- Drill extensions – You will need to use different drill extensions in order to drill precisely some spots.
Besides these items, you will also need to get safety goggles and a pair of gloves as well. After all, you will be handling serious tools, so, making sure to stay safe during the process is absolutely important.
How to Install Shower Pipe in Wall
Before we start explaining how to install a shower pipe in a wall, first, we must mention a couple of things. So, planning on installing a shower pipe inside a wall is best when:
- When you are remodeling the bathroom and you have full access to the pipe construction behind a wall.
- When the bathroom is being built.
In other cases, you will have to drill through the wall and make a huge mess. So, it’s best to do it when the walls are already open for you to install pipes in them.
Anyhow, let’s begin with the installation process.
1. Locate water supply pipes
First things first, you will need to locate a suitable hot and cold water supply line. The goal is to connect your newly installed pipe to this water supply line so it can function properly.
Anyhow, this should be such a hard thing to do since the main pipe is usually located hear the shower. But, the harder part is the drilling. Namely, in order to reach the main water supply line, you will need to drill through the wall until you find it.
2. Turn off the water supply
Next, you will want to turn the water off in the whole bathroom. The last thing you would want is to cut the pipe that has running water in it and flood your whole bathroom and the wall as well.
So, find the shut-off valve and simply turn it counter-clockwise in order to stop water from coming into the bathroom. Once you are done with the installation, turn the valve back on and the water will come again.
3. Cut the pipes
Next, take a pipe cutter and do a few cuts.
First, cut the main pipe since you will need to attach fittings onto it in order to connect it to the newly installed pipe. This means that the cut you are going to make shouldn’t be big, it’s enough to make a small cut just big enough for a fitting to be installed properly.
Once you do that, take a closer look at the pipe opening and measure it with the fitting. You should be able to insert a fitting there.
4. Use fittings
As we already said, you will want to insert fittings into the hole that you made with a pipe cutter. Now, you will need to see this for yourself. So, use fittings that are convenient for the space you have.
If you need a fitting that connects two pipes with a female ending, then use that one. On the other hand, you should use a different kind of fitting. This really depends on your choice.
The goal is to connect the pipe to the main pipe, so have that thing on your mind when you choose a fitting.
5. Connect pipes with the valve
Prepare the valve to be connected to the pipe. This step requires you to see the endings on the valve they are usually female ports. So you need to prepare the male sweat adapters in order to connect the pipe to the valve.
Now, use a propane torch to melt the pipe just enough so it will connect to the other pipe the right way. This is usually the hardest part of this installation so it is recommended to do this carefully and with patience.
Once you connect everything, use a plumbing tape and wrap it around every part where you find it convenient. Usually, these places are actually where the pipes connect to each other.
6. Install an elbow pipe
Once you installed the new pipe and connected it to the valve, you will want to make a few adjustments. Simply put, the use of an elbow pipe should be perfect considering the fact that you want to have a fully functional shower head.
With that, the installation is over. The only thing left is to check for any loose parts or something that hasn’t been installed properly. Once you determine that everything is properly installed, you can test the pipe.
7. Clean everything up and check for leaks
Since you made a huge mess, it’s a good thing to clean it up. This step is quite important since you wouldn’t want to leave a mess that can cause other kinds of problems in the long run.
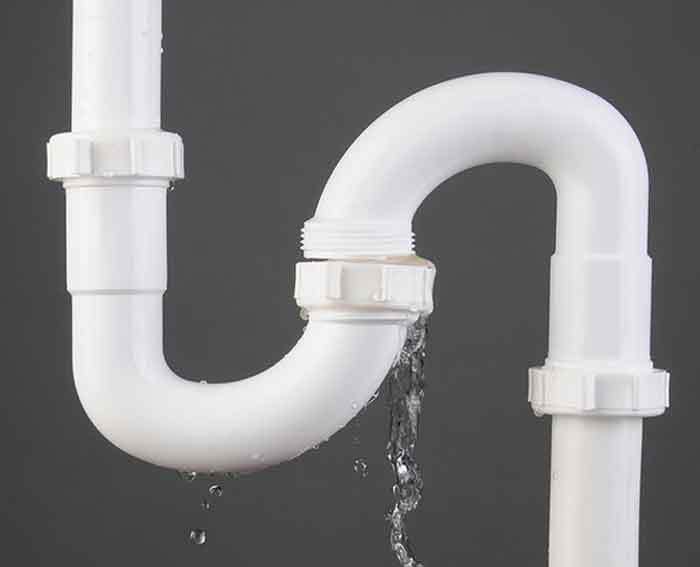
Also, turn the valve once again and let the water come to your bathroom. Once you do that, test the newly installed pipe for leaks. If you see that there are leaks somewhere, just use an adjustable wrench to tighten everything up more.
Conclusion: Installing Shower Pipes in Wall
The installation of a shower pipe in a wall surely is a time-consuming job that requires a lot of effort.
That’s why the installation is not that easy to do and it’s highly recommended that you have someone to help you with everything.
Anyhow, we’ve explained everything to you and you can now install a shower pipe in a wall without any complications. If all these sound too complicated, click on the banner below for some assistance.
