Disclaimer: This post may contain affiliate links, meaning we get a small commission if you make a purchase through our links, at no cost to you. For more information, please visit our Disclaimer Page.
For every homeowner, broken pipes are definitely bad news, especially if they are sitting behind the wall. Luckily, it’s not impossible to fix this kind of malfunctions when it comes to the pipes.
For a while, people were always calling a plumber for this kind of problems, but, with a little bit of knowledge and skills combined with some tools, you can easily fix this.
Anyhow, let’s not waste any more time and get right down to business. Let’s see how to fix a leaking pipe behind a wall.
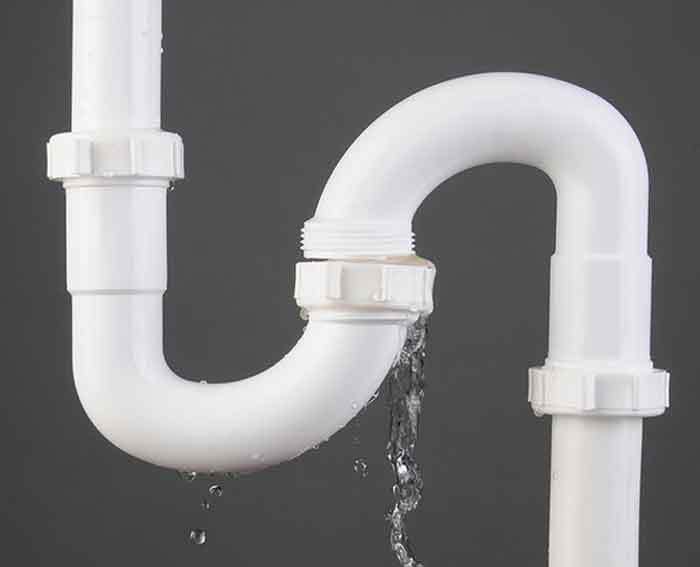
How to know if there’s a Leaking Pipe?
First of all, you simply can’t run around the house and pinch walls until you find the source of the problem. If there’s a leaking pipe behind a wall, you will most definitely spot some causes and changes around that area.
So, if there’s any pipe leakage in your home, you’ll face:
Floods
Usually, the most obvious sign of leaking pipe behind a wall is when you see a huge portion of water bursting through the wall. As we all know, water will find its way to the nearest exit when it’s under pressure.
And, if there’s a waterflood that means that the pipe is leaking somewhere near.
Mold Build-ups
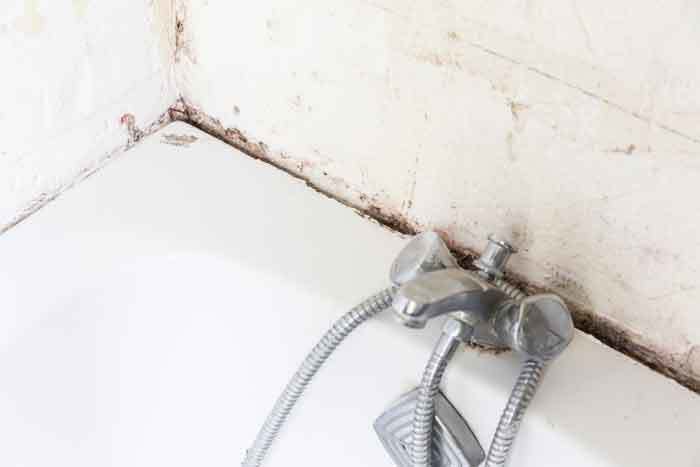
Sometimes, the leakage is not necessarily that strong. Simply put, the leaking pipe can sometimes release small portions of water and that can create mold build-ups around the area.
So, there won’t be floods or anything like that, but, there will definitely be mold on the wall.
- Bubbling Walls
This sign is not that common, but, when the water leakage isn’t that strong, you will be able to notice some kind of bubbles forming under the pain. This will also appear on the wall where the pipe is leaking.
Locating the Broken Pipe
The most important thing to do when you are facing this kind of problem is to locate the pipe and deal with it. Now, this is not always an easy task to do, especially, if you have a large household with lots of pipes.
Anyhow, this can help:
- Sewage Smells
The first thing that will definitely catch your attention is the smell. If you walk in a room where the pipe is broken behind a wall, you will definitely scent something smelly.
This smell is usually strong since it comes from the sewage. Also, you might be able to scent a little bit of mold in the air as well. These are all good indicators of a broken pipe.

- Examine the Signs of damage
Next, you can always search for the signs around the house. As we already said, these are the best indicators of having a broken pipe behind a wall.
- Mold Build-up
- Flooding
- Bubbling Walls
So, if you find anything like this, you are most likely to face this kind of problem.
- Search in Basement
The basement is the place where the pipes are usually exposed and not behind a wall. Therefore, you will easily see if there’s a leakage or anything wrong with them. Try to look for corrosion and leakage since these two are the best signs of a broken pipe.
How to Fix a Leaking Pipe behind a Wall
Now, we’ve finally come to the most important part – fixing of the leaking pipe. So, just follow these instructions and you will be just fine.
Things You Need
In order to fix or to repair a broken pipe, you will need these things:
- Safety goggles
- Gloves
- A plastic bucket
- An old piece of rag or a cloth
- Blowtorch
- Pipe-cutter
As we can see, this is not an easy job since it requires you to have a lot of different tools. But, we guarantee you that it’s going to be worth it in the end.
Now, let’s begin with the repair process!
Step 1 – Cut the Section
First, you will need to cut the drywall around the area where you think that leakage occurred.
Simply use a saw to cut the drywall and make sure to do it properly. We suggest cutting a bit larger piece since you never know where the pipe is leaking until you inspect it.
So, make sure to use a proper saw for drywall cutting, and also, make a big cut. That’s all.
Step 2 – Check for the leakage
Once you cut the drywall enough to have clear access to the pipe, it’s time to check the leakage place. Now, simply use an old piece of cloth or a rag and wrap it around the pipe. This will tell you where the leak is exactly.
After that, you will be ready to make adjustments and repair the pipe with a couple of tools. Also, if you are having troubles locating the leak, try to move the pipe around until there’s an obvious leak somewhere.
Step 3 – Place a bucket under a pipe
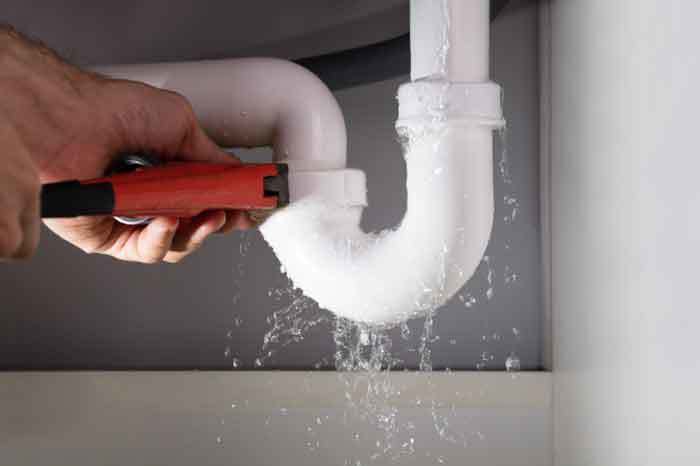
Next, in order to prepare for the repair, you will need to secure the area from sudden flooding.
If that happens, you will definitely want to be prepared properly. In that light, put a plastic bucket or a container of some sort under the pipe where the repair is needed.
Once you do that, you are ready to advance to the next step.
Step 4 – Cut the pipe
Now, this is a step that requires a steady hand and a lot of patience.
First, you are dealing with a really powerful tool – the pipe cutter. Usually, this kind of tool is quite powerful and convenient when it comes to cutting iron.
So, the place where you want to cut is right below the leak. This way, you are able to remove the rest of the pipe where the leakage is located. Also, you need to cut the pipe completely and remove the other part from the wall.
Step 5 –Dry it out
Since that is over, you will now need to dry the pipe and make sure that there’s no water inside it.
Simply put, use a cloth to soak as much water as you can and you can also use some paper towels for a bit more unreachable access points.
Anyhow, drying the pipe shouldn’t be that hard, there’s a lot of ways to do it.
Step 6 – Cut again
After that, it’s time to cut the pipe again.
Simply speaking, you will now need to cut the pipe right above the leak. Do it the same way as you did before and make sure to do it properly. Once you cut the pipe correctly, you will end up with a piece of pipe inside your hands.
That piece should have a leak point on it. So, put it aside since you are going to patch that up and return it inside a wall properly.
Step 7 – Clean everything inside the Pipe
Next, make sure that the cut part of the pipe is properly cleaned. This will require you to clean both the inside and the outside of the pipe. It’s quite important to do this step since you don’t want to form any sorts of clogs inside the pipe once you mount it back inside a wall.
Also, you will need to patch up the pipe and deal with the crack. The place where the water exited the pipe is the main problem.
So, just use a blowtorch and melt that area and add a piece of metal. This way, you will patch the pipe up and it will be good as new.
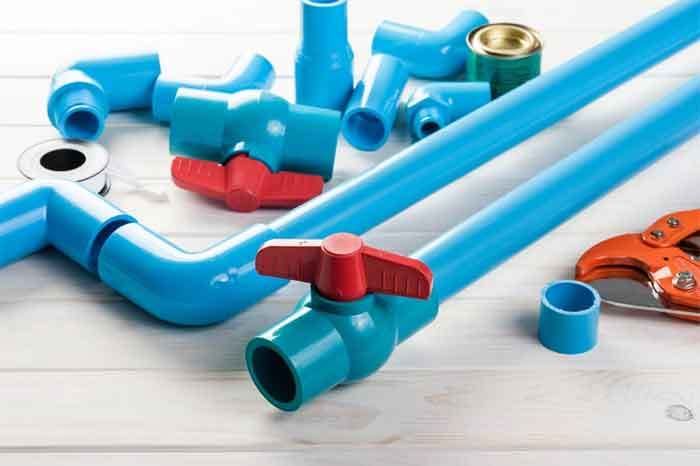
Step 8 – Mount a Repaired Pipe
We are coming to an end soon, and, that means that you need to mount the patched up pipe back inside the water system inside a wall.
For this step, you will also need a blowtorch to melt the endings of the pipe and attach it to both ends where you cut it before.
This step is quite tricky and messy, so make sure to wear protective gear like gloves and goggles.
Once you do that properly, clean a bit around the pipe and check for leaks. Run the water through the pipe and see if there’s a leakage.
Step 9 – Patch up the wall
The last step requires you to patch up the wall where you repaired the pipe earlier. Make sure to do it carefully since you don’t want to have a hole in the wall anywhere inside your house.
Also, while you are patching up the wall, don’t try to leave any holes or loose endings. This can really mess up your whole rooms since there might be sewage smells coming through that hole.
Conclusion: Fixing a Leaking Pipe Behind a Wall
Fixing a leaking pipe can be troublesome sometimes. But, with a bit of knowledge and skill, you can do it without any complications.
Also, a certain set of tools is required as well, so, make sure to be geared up before you start this repair process.
Anyhow, we surely hope that this guide helped you with fixing a leaking pipe behind a wall.

