Disclaimer: This post may contain affiliate links, meaning we get a small commission if you make a purchase through our links, at no cost to you. For more information, please visit our Disclaimer Page.
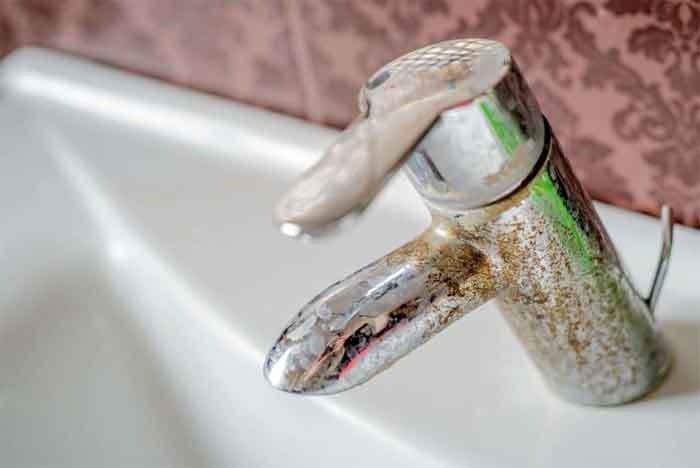
If you live in an area with hard water, it’s safe to say you’ve had to do the irritating laborious work of cleaning your scummy faucets. No one wants to clean faucets with heavy, dangerous chemicals even if they do their job.
They usually do not come cheap in price and can prove bad for our health if we spend too much time inhaling them. Not to mention that scrubbing away can be energy draining.
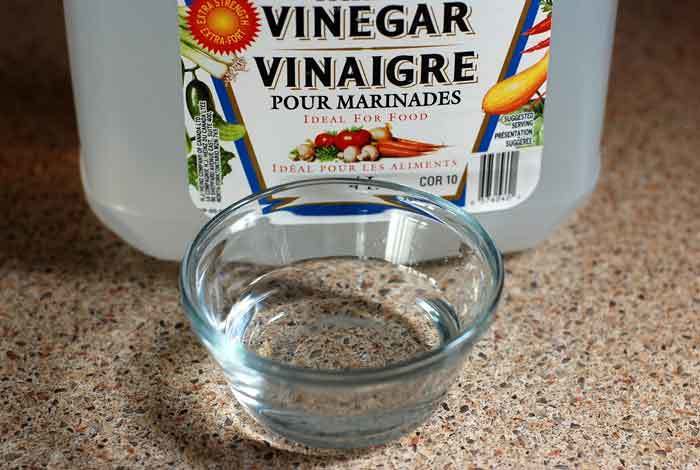
Many neglect the fact that some of the cheaper and safer substitutes can be found in everyone's kitchen – such as white distilled vinegar.
Vinegar is one of the safest and most environmentally friendly way to clean almost everything in your household – from your windows, work surfaces, showerhead, and those stubborn, grimy lime scale-ridden faucets.

Things You’ll Need
Having established that this is one of, if not the best way of cleaning your faucets, here is the list of what’s you'll need:
- A bottle of white distilled vinegar
- A plastic bag (or a piece of cloth)
- An old toothbrush
- A kitchen towel
Once you get all these items, it’s time to start with the cleaning process. Let’s begin.
How to Clean Faucets with Vinegar
There’s more than one way to use vinegar for cleaning. In most cases, vinegar will easily dissolve all nasty build-ups and debris so using it on faucets is quite effective. Therefore, let’s discuss some of the best methods to use vinegar for cleaning.
Method 1 – Vinegar in the Bag
This method requires you to do a bit more rather than just scrubbing and wiping. Namely, you will need to use a plastic bag and some kitchen towels as well.
Step 1. Fill up a plastic bag with half a cup of white distilled vinegar.
You can also add some water into the bag and create a mixture of water and vinegar. This way, there will be more liquid to cover the whole faucet.
Once you mix these two ingredients inside a bag, give it a good shake so the vinegar can properly mix with water. That will ensure the proper cleaning of your faucet.
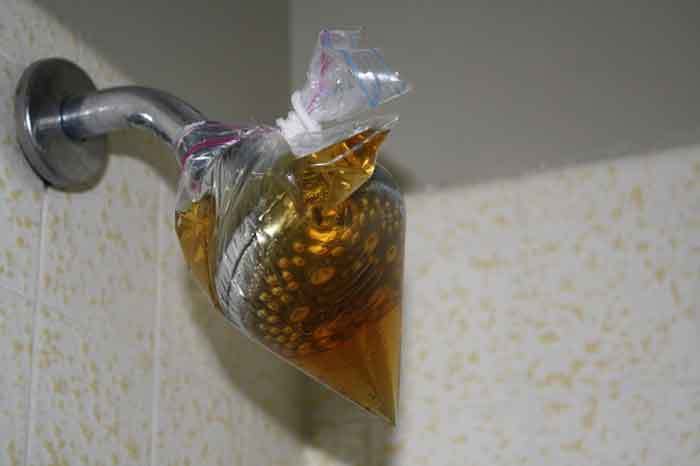
Step 2 Wrap it around the faucet and let it sit for 2 or 3 hours.
In case you need help to wrap the plastic bag around the faucet, you can always ask someone to hold it for you.
There’s no need to call a professional for this kind of job since anyone can do it without any complications. Just keep in mind that the whole faucet should be covered and totally sank in the plastic bag.
Step 3. Remove the plastic bag.
After the time has passed, remove the plastic bag scrub the loosened calcium build up with the toothbrush and follow this with a clean water rinse. This way, you will ensure that your faucet is perfectly cleaned without a trace of any debris or dirt.
You can also repeat this step if there’s a need for extra scrubbing. Just remember not to damage the surface of the faucet with the toothbrush.
Step 4. Dry the faucet with a clean kitchen towel.
You can actually do this step a couple of times and make sure that the faucet is completely dried and properly cleaned. Also, it wouldn’t be bad if you used a dry soft cloth to polish the faucet a bit.
This will provide a shiny look and your faucet will once again look good as new.
Method 2 - Cloth in Vinegar
If you’re trying to reduce the plastic use in your household, instead of using a plastic bag, you can use a piece of old cloth or something similar. Therefore, you will need to put a bit more effort into the cleaning process.
Step1. Soak the cloth
First, you will need to take an old piece of cloth and soak it in vinegar. Make sure that the cloth is soft and that can easily be wrapped around a faucet. Once you find that cloth, soak it in vinegar until it’s completely wet.
You can actually pour some vinegar in a plastic bucket in order to easily soak the cloth.
Step 2. Wrap the cloth around the faucet
After the cloth is completely soaked, it’s time to wrap it around the faucet. Leave it there for several hours, approximately three to four hours should be enough. In that time, the vinegar from the cloth will slowly dissolve every piece of nasty build-up and debris.
Your faucet will once again be cleaned to shine and you can use it without any troubles.
Step 3. Scrub with an old toothbrush
It might smell a bit, but you will need to remove the cloth off of the faucet after the time had passed. Just make sure to remove it slowly since there will be some pieces of dirt falling apart from the faucet surface.
After that, take an old toothbrush or a sponge, and start scrubbing the leftovers of dirt on the faucet. There shouldn’t be that much dirt after you removed the cloth, but, it’s always a good idea to give it a good scrub.
Also, make sure not to scrub too hard since you might damage the faucet’s surface which will result in scratches. Use gentle and slow strobes when you scrub.
Once you complete the scrubbing process, rinse the faucet with hot water. This will ensure that the faucet is properly cleaned and that there aren’t any leftovers of dirt.
Step 4. Dry the faucet
Lastly, it’s time to completely dry the faucet and make it shiny again.
For this step, you should use a kitchen towel or soft cloth, the result will be the same. There’s no need to polish the faucet since it will be shiny after drying.
Conclusion: Cleaning Faucets with Vinegar
Cleaning with vinegar is certainly the most efficient way to clean your faucets. Additionally, you’re saving yourself from inhaling poisonous chemicals and saving your muscles from doing all the work.
Besides that, vinegar is easily found in every home so there’s no need to buy costly chemical products that even might not do the job.
