Disclaimer: This post may contain affiliate links, meaning we get a small commission if you make a purchase through our links, at no cost to you. For more information, please visit our Disclaimer Page.
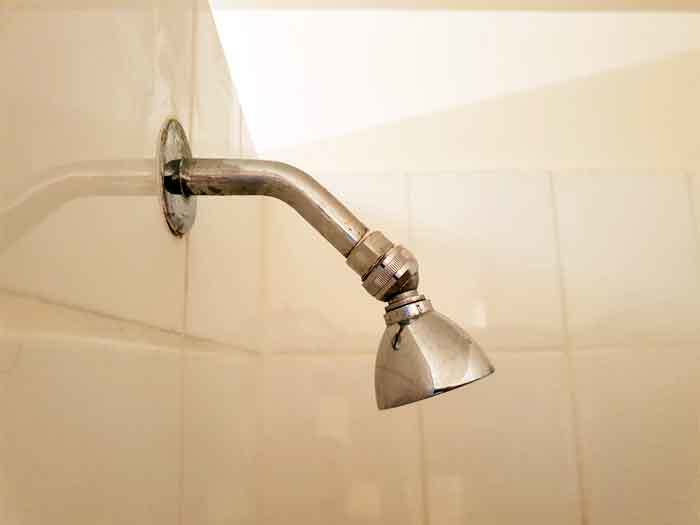
In case you didn’t know, ball shower heads come in two different varieties – The removable ones, and the fixed ones. Now, it is more common to face a removable ball shower head in today’s bathrooms since they are a bit better choice.
Fixed ball head joints are not bad as well. But, as we can conclude from the numbers, people tend to get removable ball head joints more.
With this being said, it’s quite understandable that changing a shower head with a ball is way easier when you have removable ball head joint. Anyhow, let’s see how to change a shower head with a ball in the most efficient way.

The Removable Type
First of all, it’s quite important to see a bit more about this type of shower head.
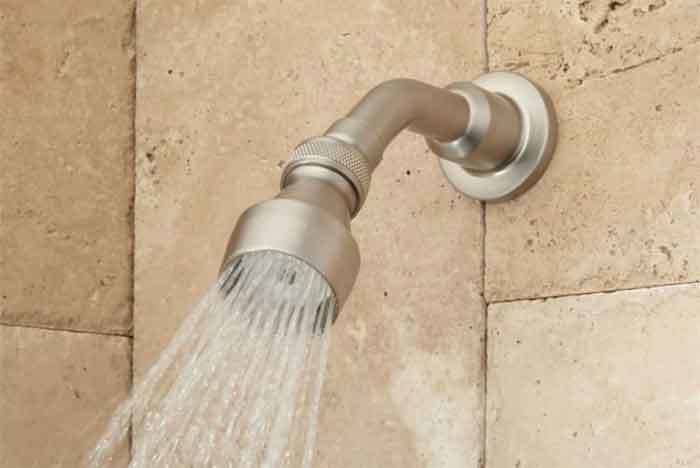
Namely, the shower head with a removable ball joint is actually attached to the shower with the help of a fastening nut. This means that you will be able to easily - and without much complications - remove the ball head from the shower.
This is the exact difference between this type and the fused type of shower head ball. The fused type is practically fused to the shower head and you can’t remove it or change it in any way. All you can do is to remove the whole shower head with the whole arm construction.
Anyhow, we are interested more in how to change a shower head with a ball, so, that’s exactly what we are going to discuss.
Things You Need
Like on every job, the preparation of essential equipment is absolutely needed. That’s why you’ll need to muster a few tools and a couple of other things in order to change the shower head with a ball.
So, you’ll need to get:
- A wrench
- Piece of an old cloth
- Plumber’s tape
Once you're prepared for the job and gathered all this stuff, you can now continue and see how to change a shower head with a ball.

Changing Shower Head with a Ball – 6 Steps
Follow these steps in the given order and you will easily change the shower head with a ball. Let’s see now how to do it without complications.
Step 1 – Remove the Shower Head
First things first, you will need to remove the shower head by using an adjustable wrench. Now, you can do this without any troubles since all you need to do is to turn counter-clockwise to loosen the nut on the shower head.
After that, place a piece of an old cloth around the shower head’s arm in order to stop any sudden water leaking.
Step 2 – Examine the Shower
Once you removed the shower head from the shower arm, you can now examine the insides. As we already said, shower heads with a ball fixture will allow you to access the ball fixture and change it manually.
Now, all you need to do is to find a coupling that is located on the bottom half inside the fixture. This coupling is able to be unscrewed and that’s what you need to do. But, before you start unscrewing, you need to inspect if there’s any clogs or debris inside the fixture.
If there is, then simply clean it with a rag or an old piece of cloth. This will help you to do the job easier.
Step 3 – Unscrew the Nut
Now, as you already found the coupling on the bottom of the fixture, you will now need to unscrew it. This means that you need to remove the coupling from the main body and remove the ball fixture as well.
This can be done without any complications if you do it slowly and with patience. All these parts in here are fragile and you can damage them if you use a bit too much force. So, be careful.
Step 4 – Place a New Ball Fixture
In case you followed everything correctly so far, it’s time now to place a new ball fixture inside a shower head.
Now, slowly insert a new ball fixture in the place where the coupling is. Next, you need to thread it exactly onto the fixture’s main body and tighten it with hand.
Make sure not to leave it loose and also make sure not to tighten it too much. You’ll want to replace this fixture sometimes in the future as well.

Step 5 – Apply the Tape
As we are getting close to an end, the only thing left to do is to apply plumber’s tape directly onto the threads of the shower arm. To do this precisely, you will need to slowly apply the tape and make sure to hit the right spot.
Applying the plumber’s tape isn’t such a hard thing since it sticks pretty well to the shower arm.
Step 6 – Tighten everything up
As for the last step of this process, you’ll need to tighten the shower nut with the same tool you used to remove it – the adjustable wrench. Make sure not to tighten it too much since you can create all sorts of problems that way.
It is also recommended to use a rag or an old piece of cloth to prevent the scratching of the surface on the shower head arm.
Tips for Changing a Shower Head
Here are some useful tips that might help you to deal with this kind of problem easily and with less effort.
Tip 1 – Once you remove the shower head from the shower arm, make sure to clean up all the debris that might be found inside the shower head.
Tip 2 – Using a rag or an old piece of cloth is recommendable since it will protect your fixtures from scratches.
Tip 3 – Removing the ball joint must be done slowly in order not to damage the fixture in some way.
Conclusion: How to Change a Shower Head with a Ball
As we can see, changing the shower head with a ball isn’t such a hard thing to do after all. All you need for this kind of job is a couple of tools and a bit of patience.
So, there you go! We surely hope that this little guide helped you to change your shower head with a ball.

