Disclaimer: This post may contain affiliate links, meaning we get a small commission if you make a purchase through our links, at no cost to you. For more information, please visit our Disclaimer Page.
Some tools that technicians and plumbers use in repairing your house are in some clumsy forms that might not be of interest to you. For example, the wrench is one of such gauche items but, very essential that may never miss in your plumber’s toolbox.
However, have you ever wondered how the plumber would have removed the showerhead in your bathroom without the wrench?
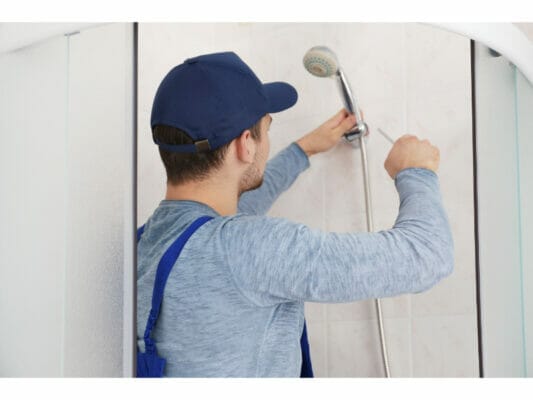
Removing a showerhead using pliers, duct tape or vinegar is the best alternative for a wrench. This is possible by tying the duct tape or gripping the showerhead’s surface with the pliers; alternatively, submerging the showerhead in vinegar for an hour and hand twisting it off is also helpful.

Keep your eyes open for the next section of this article where I will let you know whether it is hard to remove the showerhead, possible injuries that may result from the procedure, and how to handle the different types of ball head joints; all without a wrench.
Table of Contents
Is It Hard to Remove a Showerhead Without a Wrench?
Technicians with certifications in any niche will tell you that one of the most important things they learn at their colleges is how to use the right tool for the right equipment. This proves that the mantra of using the right tool for the right object is true.
I am very sure you cannot wait to try the processes out more so than on using vinegar, but you need to equally consider other things before practicing it out.
However, in addition to knowing the source control of the water for your showerhead and turning off the power supply in the bathroom, you should also know the type of showerhead you have among many other issues.
Here is part of what you need to consider!
Types of Showerheads
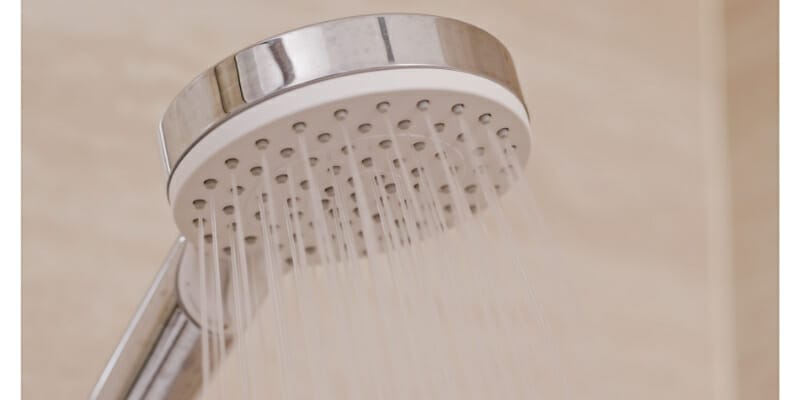
The showerheads come in various shapes and sizes ranging from the classic to the crunchy old school, all with elegant looks and sizes. However, fixed and handheld showerheads are the two most popular types.
Fixed Showerheads
These showerheads with short pipes that have their installations with mountings on the walls and produce a spraying water pattern are the most common type in apartments.
The further classification of the fixed showerheads into the rain and low flow showerheads that having easy and elegant mount fixations on the walls and house ceilings makes them unique and the most sort for.
So expect to come along any of such type whenever you help will be of importance to urgent situations.
Handheld Showerheads
Compared to the fixed type, these are slightly different in size and shape. As implied by its name, the showerhead hangs from a flexible elongated water pipe. There is also a clipping feature on it that allows you to remove the head to work on it easier.
This type is popular with many people because of its ease of use and powerful water spray, usually used in massage parlors.
As a result, it is not difficult to remove the showerheads without a wrench, however, it depends on the type in question. The only challenge with fixed showerheads is their height, although not all of them are at those high levels. So the height should not scare you from fixing a dripping shower head joint.
How to Remove Shower Head Ball Joint Without a Wrench?
The showerhead ball joint is the flexible part between the pipe wrench and the showerhead; most commonly found in fixed showerheads.
So the adjustment of the water’s direction is possible through these valves, however, due to the presence of mineral deposits in the water, most of these materials are prone to oxidization from time to time.
However, since several consumers complained about the increased rust in the ball head joints, the manufacturers changed the form of the showerheads and today most of the ball head joints are on the inside away from the water flow.
However, the damp conditions of the showerhead or the bathroom, as well as dust entering the bathroom, can still lead to the need to clean or replace the ball head.
So removal of the ball heads is quite easy as long as they are positioned on the outside of the showerhead depending on the type of the ball joints.
Types of Ball Head Joints
If your showerhead has a ball joint, its main features will be key to determining accessibility for repair or replacement and how efficient it can be. This is whether it’s a fixed ball joint, removable ball joint, or a stuck ball head joint.
Fixed Ball Joints
Old school showerheads were usually equipped with these balls, which were attached to their top heads or metallic arms; although It is easier to remove the ball head joints attached to the showerheads than those attached to the fixed shower arms.
It would however be necessary to remove the entire arm before reaching the joint to disengage the ball heads; a task that can be quite challenging.
For you to effectively remove this type without the wrench, you should wrap the plastic bag filled with white vinegar around the shower arm’s teeth and seal the bag tightly around the arm for two hours. You can leave the bag for two hours or overnight and later remove the arm by turning it counterclockwise.
Removable Ball Joint
A nut attaches the shower arm to such a joint. Taking it off requires wrapping the plastic bag around the nut zone, then twisting the arm off after some time.
Stuck Ball Head Joints
Many showerheads of this type are rust-prone due to their external fixation, causing damages to them easily by water minerals. So the shower arm needs maintenance to be sure it cannot stick making the movement of the ball head joints difficult.
Instead of removing the shower arm if you want to loosen a stuck ball head, you can use white vinegar to loosen the joint since it dissolves rust. You can also tie a cotton cloth around the teeth or tie a tape around the arm and turn it using pliers.
It is advisable to grease these joints periodically with a plumber’s grease to prevent the oxidation effect. The use of any lubricant other than plumber’s grease on the ball head joints breaks down the faucet’s material since, after a few months, the surface becomes dry and crusty.

Best Ways to Remove a Showerhead Without a Wrench
The different wrench tools used in plumbing come in different sizes and most of them are handheld during their operations. Though it is an important household tool, you need not buy it if you only ever replace the bathroom taps or sink faucets once a year.
So, if you do not have a big budget and see no need for a wrench, you should familiarize yourself with the following techniques to handle any mishaps in your house.
Spraying the Showerhead Joint with WD-40
WD-40 is an industrial lubricant useful for all homesteads because of its wide range of usefulness. As a highly protective oil for metals from corrosion, it displaces moisture on movable parts and lubricates them.
Additionally, it is useful for removing tight jewelry, cleaning carpet stains, preventing snow buildup on windows, and loosening zippers among other features.
Since you will not be removing the showerheads every other day, so this might make you avoid buying the WD-40. However, its wide range of uses confirms that you do not need to worry about the lubricant’s expiration dates, since you can use it for anything else at home, such as cleaning car body parts.
The spray also features a permanent smart straw that can steer its content to the specific areas of the body that need it.
Try twisting your showerhead after spraying WD-40 on the joints and teeth of the head after a waiting period of about 45 minutes. In case the joint is still firm, spray again around it and allow it to react for a moment before trying to twist it again.
Using Pliers
Even though the pliers are quite useful to unscrew or remove almost anything from their original point, you need to be aware that they have crevices on the surfaces that may cause damage to your showerhead.
Advisably, it is best that you should always test the stability of the showerhead with your hand before using the pliers.
This will be important to help you gauge the kind of pressure to apply when unscrewing it. So when you are set here is a procedure for you:
- In order to reduce friction on the moving parts, you first need to lubricate the showerhead’s teeth zone.
- Wrap a wet piece of cloth over the connecting nut of the showerhead to reduce any cut damages that it can make on your surface.
- Tighten the pliers over the surface to grip the connection
- Turn the tight pliers counterclockwise to remove the showerhead.
There are different types of pliers; however, not all of them are useful in removing the showerheads. The types you can rely on include slip joint pliers, lineman’s pliers, tongue and groove pliers, and locking pliers.

Using a Vinegar
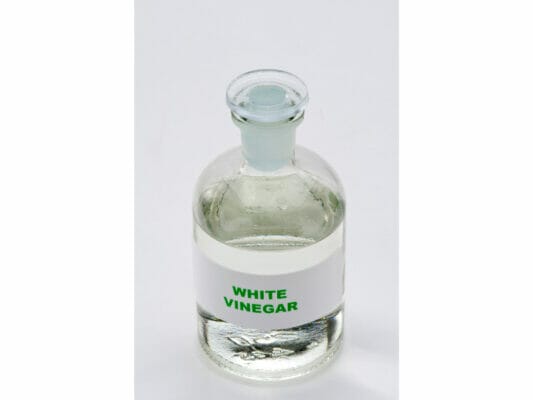
If you have tried unscrewing a showerhead using your hand, it is either too tight or it is stuck because of mineral deposits from the water that flows through it. So this method needs you to have white vinegar, a plastic bag, and a fastener or a rubber band.
The acetic acid used in the production of vinegar is important in dissolving dirt, grease, and all kinds of mineral deposits as well as all deposits of scum. The goodness with this vinegar is its lack of any coloring agent, which means your showerhead surface will not have any spotty stains.
Removing the Showerhead Using Vinegar
Most showerhead manufacturers produce them using solid brass, metal or plastics with colored finishes.
So any part of the showerhead that comes in contact with water frequently has a greater chance of building up rust and mineral pilings with time; blocking the smooth flow of water.
Maintaining the shiny surfaces on the showerheads also gets tricky depending on the types of impurities in the water flowing to your region.
- Close the main supply of water to your bathroom.
- Using a plastic bag that fits over your shower head and half fill it with vinegar.
- Allow it to soak in vinegar for 30 minutes to 2 hours over the showerhead. However, if your showerhead material is brass, you should not leave it in vinegar for longer than 30 minutes as the acetic acid may tarnish the showerhead’s surface.
- Using a tie wrapper tie the plastic bag and secure it to the fixed shower arm to put it in place.
- Unwrap the bag and twist the showerhead gently in an anticlockwise direction until it comes off the fixed arm after the waiting period is over. When it still feels firmly attached, wrap a wet cloth around the nut and unscrew the head with pliers.
Normal Removal Procedure
It is not unknown to find plumbers tying duct tape to some gadgets like showerheads and fitting them with their arms, which is a typical thing plumbers do.
Nonetheless, since your plumbers do not provide any documentation regarding the type of tool they prefer when repairing the gadget, you can test the showerheads’ tightness using your hands.
After shutting your bathroom’s main water supply, turn on your faucet to let out any remaining water drops in the showerhead.
Test the firmness of your fixed arm by trying to shake it and feel its rigidity to the wall.
For a very tight showerhead, wrap a cloth around the end of the showerhead or put on rubber gloves as you turn it counterclockwise.
Nevertheless, you may want to consider supporting the fixed arm while you turn the showerhead for wider protection of the arm and wall mounting if you feel the arm is not strong enough to sustain your force.
Using a Belt to Remove the Showerhead
There’s nothing better than discovering that one of your accessories or appliances in the house can perform a function other than what you purchased it for. Using the belt on the showerhead, you can create a good amount of tension, and that makes it one of the best strap wrenches you can get. Try it by:
Put the belt on the joint between the head and the pipe in the direction of your choice. It is, however, recommended that the belt end is in the clockwise direction.
As you loosen the belt’s buckle, you should be able to get a firm grasp on the showerhead by pulling on the belt’s end.
Pull the belt in a counterclockwise direction with a moderate force to unscrew the threads.

Using Duck Tape
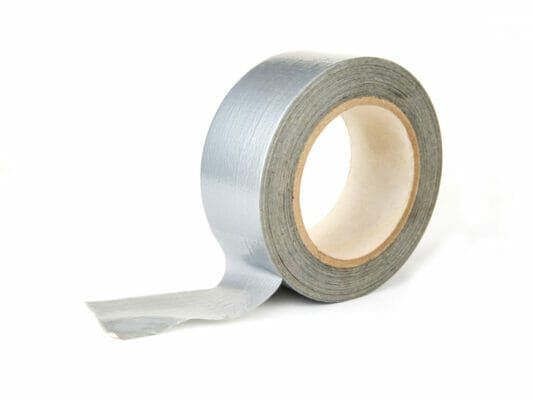
This is the most affordable tool we have for plumbing, and since all the other tools are so expensive, we have no reason not to keep them handy.
- Make two equal strips with a piece of duct tape that is 10-12 inches long and cut in the middle
- Place the sticky side of one strip on the non-sticky side of the other strip
- Wrap half of the length of the sticky side in a clockwise direction around the showerhead
- Unscrew the showerhead by grabbing the remaining inches of the tape and pulling it counterclockwise.
Safety Precautions When Removing Shower Heads
You need to confirm the following checklist before unscrewing the showerhead to ensure you do not cause harm by ignoring some important precautions. Be careful while working on the showerhead fixings and confirm all the following points before proceeding.
- Turn off the main valve controlling your bathroom’s water supply.
- Electric heaters are not uncommon to be attached to showerheads. In order to prevent any risk of electrical shock, you should trip the circuit breaker in your bathroom. The bathroom’s circuit breaker always has ratings between 16 Amps and 32 Amps. However, in case you are unsure of the circuit breaker controlling your bathroom’s water heater, it would be best if you shut off the main switch for the few minutes you will be working on the showerhead.
- Your bathroom floors are prone to be wet because of the constant water flow there, so this calls for clearing of all wetness. so if the showerhead is on a raised platform where you need a platform to reach it, it’s best to dry the floor so that you won’t slip. Furthermore, technical requirements dictate that at least two people must be present on the site to work at heights. Therefore, you should have someone else assist in either holding your ladder in place or checking that the unscrewing of the showerhead is safe.
- Verify the rigidity of the protruding arm attached to the wall to determine whether you will need additional force to hold it in place while you remove the showerhead using means that exert force on the structure.
Conclusion
When you are considering re-using or replacing a shower head, clean the threads of the new one after removal with vinegar to ensure there are no particles that might affect your water flow.
Removing a showerhead is an easy task so long as you use the right means and moderate force to prevent damage to the arm and the showerhead.
The need for such a skill might seem irrelevant in the present age, with plumbers’ contact information at our fingertips, but it will be extremely useful if you get into an emergency.
